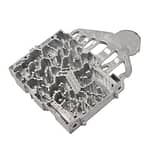
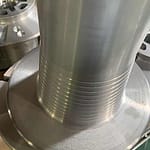
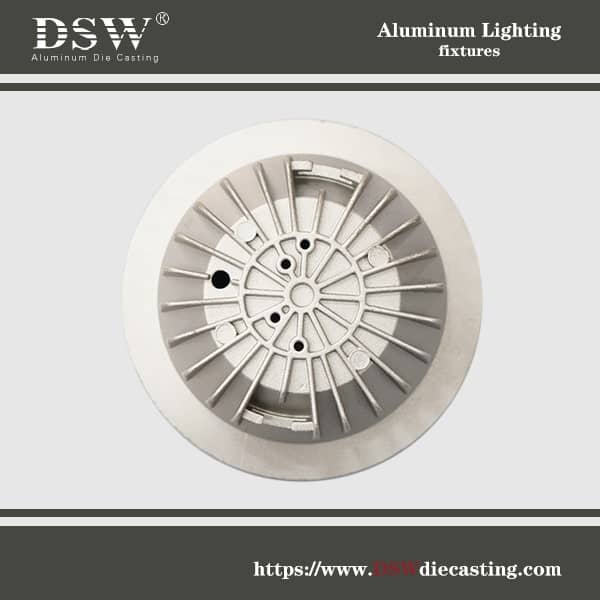
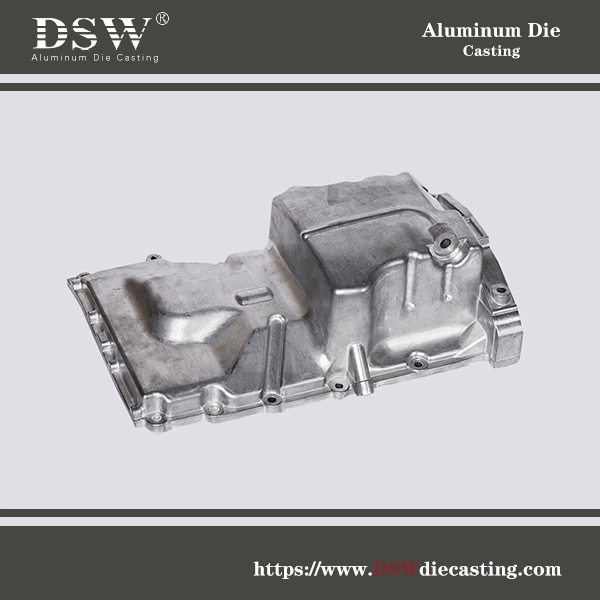
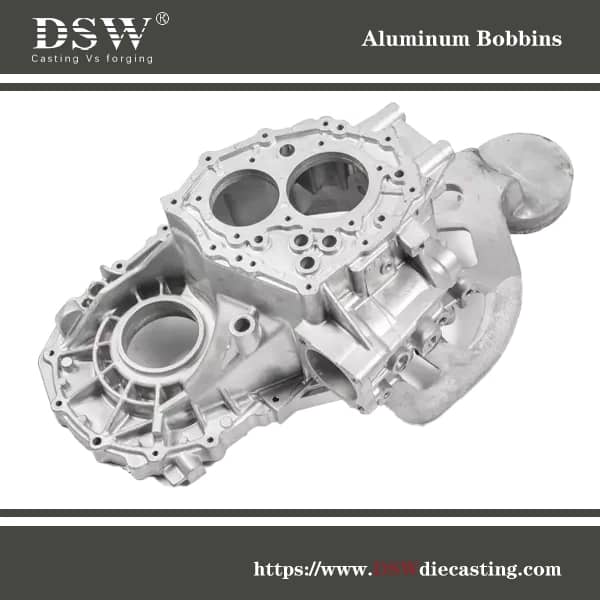
With decades of experience in high-precision machining and die casting, DSW follows strict quality management procedures and well-defined manufacturing standards. These controls ensure every component delivers consistent dimensional accuracy, strength, and durability. By applying continuous improvement, advanced measurement technology, and rigorous process control, we guarantee that all products meet or exceed recognized international engineering standards.
Manufacturing Standards
DSW follows rigorous quality management systems to ensure stable dimensional accuracy, material integrity, and long-term component performance. These standards apply across all machining and die casting operations.
- ISO-compliant production control
- continuous process optimisation
- advanced dimensional inspection
- full traceability for materials and tooling
Our goal is consistent, repeatable quality across every batch and every component.
CNC Machining Standards
CNC (Computer Numerical Control) machining standards refer to the guidelines, specifications, and quality requirements that govern the production, performance, and testing of CNC-machined parts and processes.
General Machining Tolerances (ISO Basis)
- Metal parts: ±0.005” tolerance
- Plastic/composite parts: ±0.010” tolerance
- Edges broken and deburred unless sharpness is specified
- Transparent plastics may show swirl marks or matte surfaces
Surface Finish Requirements
- Standard as-machined finish: 125 Ra or better
- Critical surfaces must be called out on the drawing
- Tool marks removed on visible cosmetic areas
Orientation and Form Tolerances
Tolerances for parallelism, perpendicularity, cylindricity, flatness, circularity, and straightness depend on part length and are defined as follows:
| Part Length | Orientation / Form Tolerance | Angularity Tolerance |
|---|---|---|
| 0 – 12″ | ±0.005″ | ±0.5° |
| 12 – 24″ | ±0.010″ | ±0.5° |
| 24 – 36″ | ±0.016″ (1/64″) | ±1° |
| 36 – 60″ | ±0.031″ (1/32″) | ±1° |
| > 60″ | ±0.063″ (1/16″) | ±1° |

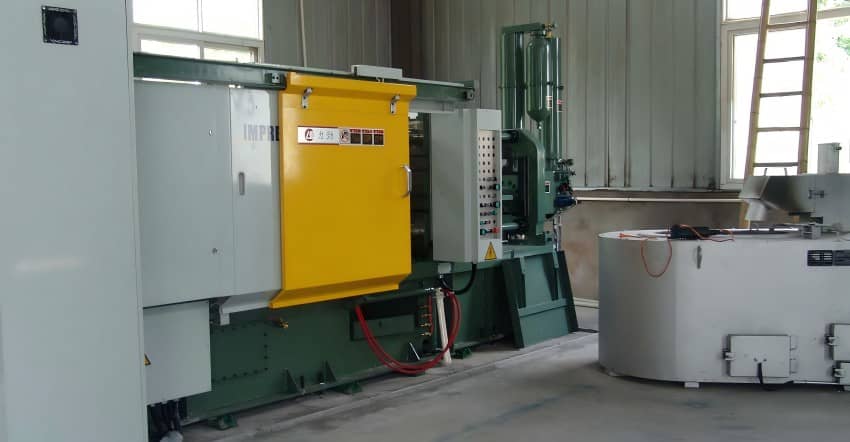
Die Casting Standards and Quality Control
Die casting standards provide defined requirements for materials, production processes, and quality control during casting operations. They ensure that die-cast products achieve the specified mechanical strength, dimensional accuracy, tolerance limits, and surface finish quality expected for industrial use.
Tooling & Dimensional Tolerances
Typical mould machining tolerances are ±0.010″, with an additional ±0.001″ per inch applied to compensate for material shrinkage. As-cast surface finishes commonly achieve 64 μin, and post-machining of critical features should be clearly specified prior to tooling approval. Production lead time is defined by first-article delivery, with mass production commencing only after customer approval. Standard part-to-part repeatability averages ±0.004″. Due to the nature of the process, die-cast components may include visible parting lines, gate vestiges, and ejector pin marks, unless secondary finishing is requested.
First Article Approval & Inspection
- Lead time based on first article validation
- Mass production begins only after customer approval
- Material traceability maintained for all batches
Manufacturing Workmanship & Inspection Standards
Unless otherwise agreed in your quote, we adhere to the following tolerances, which may vary depending on the selected primary manufacturing method. For design optimisation, please refer to our comprehensive design guides tailored to each manufacturing process. In the event of any discrepancies between these guides and DSW’s Manufacturing Standards, these standards will prevail.
Workmanship Standards
DSW ensures all orders meet the minimum quality standards relevant to the selected manufacturing process. Should your project require a higher level of quality, please specify these requirements in your engineering drawings, purchase orders, or specifications.
Finished Surface Quality
Cosmetic Standards: Painted surfaces will have uniform coverage, and all finished surfaces will be free from defects such as chips, scratches, or other damage.
Tooling Marks: The as-milled surfaces will be free of burrs, chatter, and other defects and will comply with surface roughness specifications. Critical surfaces will be free from visible mill steps.
Deburring: All exposed edges will be deburred, ensuring no sharp edges, burrs, or metal slivers are present. Remember that we won’t deburr sheet-cut parts unless we choose a specific finish.
Foreign Object Debris (FOD)
Surfaces will be free of contaminants, including cutting fluid, metal chips, and other debris.
Threads
The provided drawings will fully form and cut the threads to the specified size and class, free from defects, damage, or contamination.
Plated Surfaces
Plated surfaces will exhibit uniform coverage, including adjacent areas of assemblies. Surfaces will be free of machining marks, scratches, pits, and visible bare metal. Minor defects may be permissible if they do not compromise the protective finish.
Weld Joints
Weld joints will adhere to customer-provided specifications. Workers will clean welds without explicit requirements to remove slag or contamination and wait to paint them until after inspection.
Countersinks
Countersinks will be round, meet print specifications, and allow proper fit with mating screws, free from burrs and other tooling defects.
Painted Surfaces
Painted surfaces will maintain a consistent, defect-free finish without visible machining marks, scratches, or dust. Paint quality will be assessed at a viewing distance of 18″ at 1X magnification.

